


The ingredients:
- 60-90 baby diapers (I made it so each layer is a different size, the top layer is newborn, 2nd layer is #1, 3rd layer is #2)
- Large bottle of baby lotion, shampoo, or soap (I used all 3 and held them together with a rubber band)
- Trinkets/toys for decorating the cake
- Onesies & bibs for stuffing in the center
- 1-1 1/2" width ribbon
- rubber bands
- cardboard circle or square for cake base covered in wrapping paper
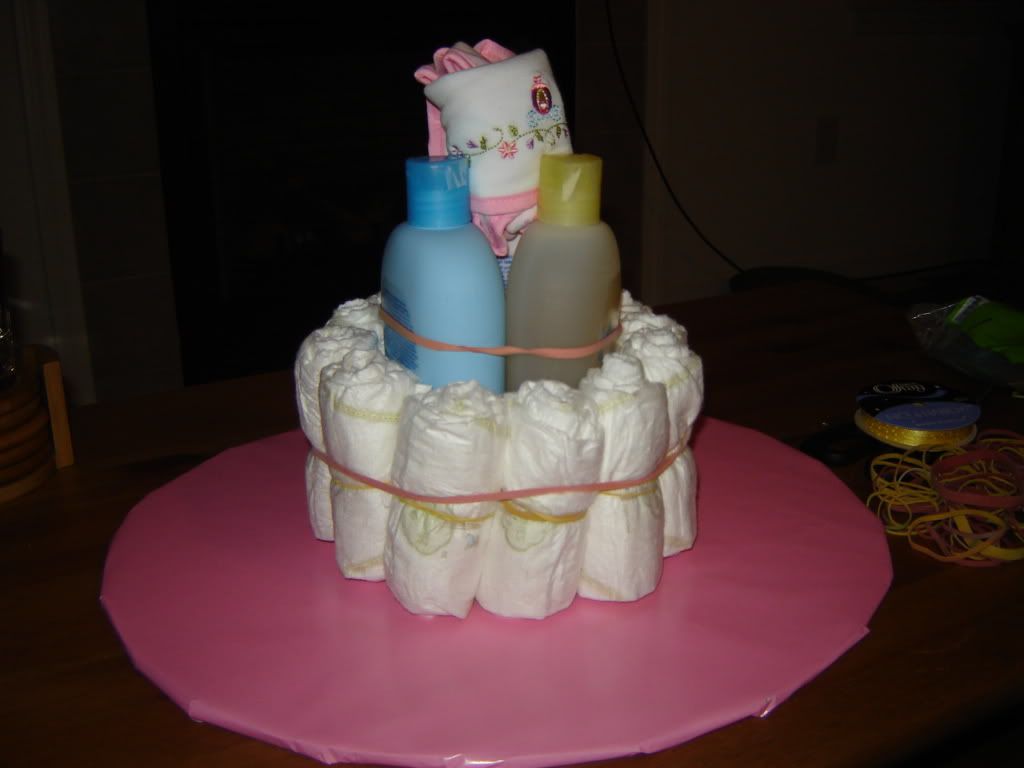
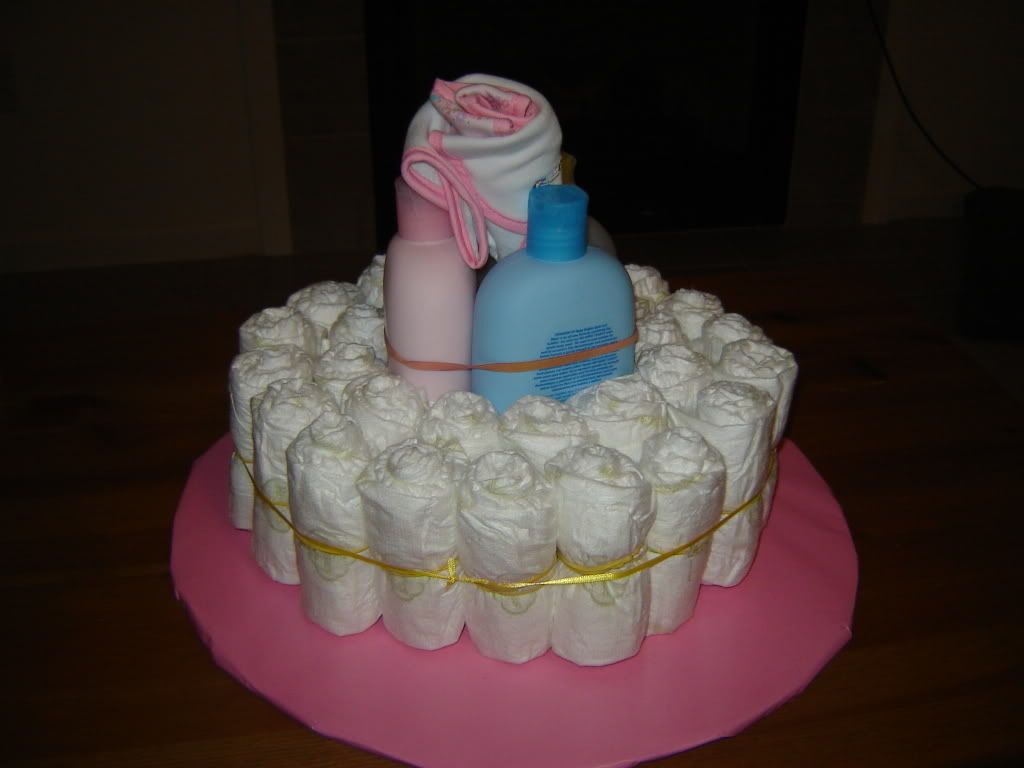
Step 1: Unfold the diapers and roll from back to front and secure with a rubber band. Place lotion bottle(s) in the center of the base and surround with rolled diapers. Secure together with a rubber band. Place another layer of diapers around the first layer and secure once again with rubber bands (can use thin ribbon if rubber bands aren't large enough). Since my cake was a bit larger, I put a 3rd layer of diapers outside the first two to form the base.
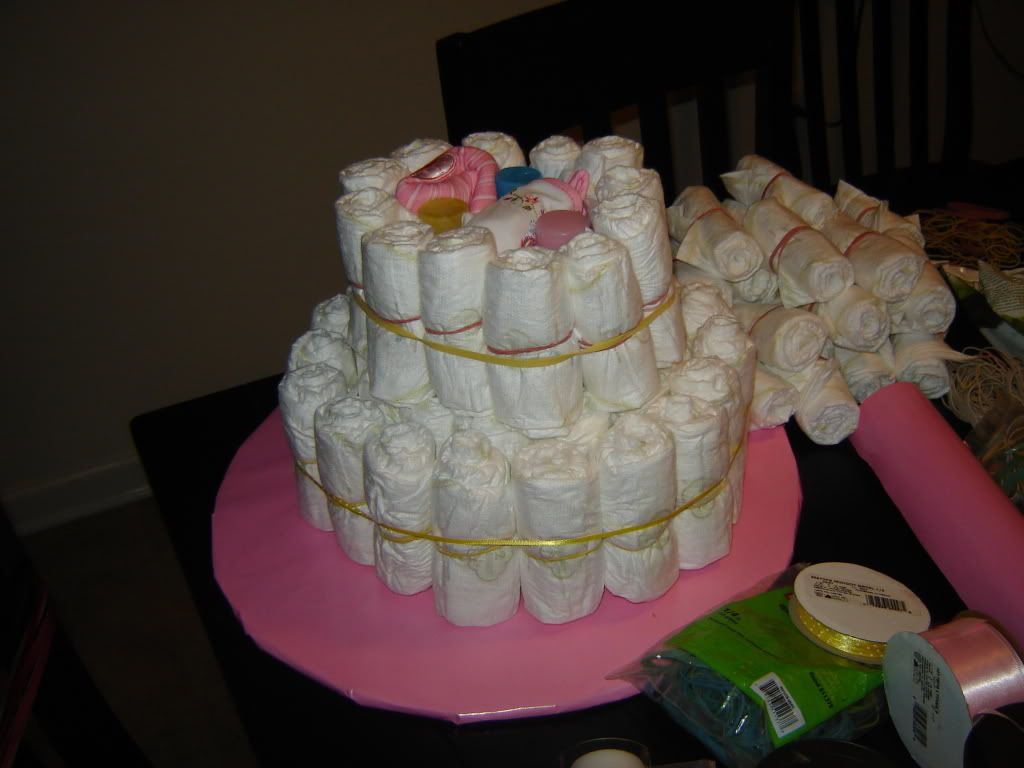
Step 2: To begin the center layer place rolled diapers around the tops of the lotion bottle(s) sticking up from the first layer and secure with a rubber band. I then stuffed the empty spaces with rolled up bibs and onesies. I then placed two more layers of diapers outside the first layer and secured with ribbon to keep in place.
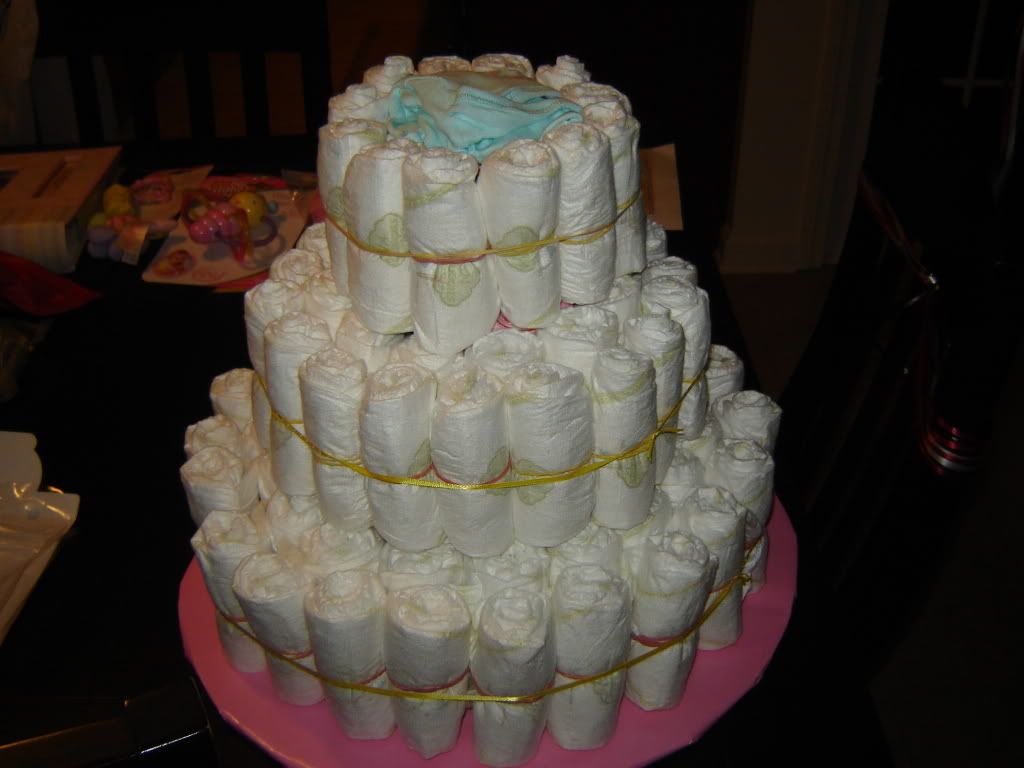
Step 3: For the final layer it might be easier to put together first and then place on the top of the diaper cake. You can use a 4-oz baby diaper as the centerpiece (the top of the bottle will stick out of the top of the cake) and surround with two layers of rolled diapers, but I chose to place more bibs and onesies rolled up as the center of my top layer and then surrounded with two layers of rolled diapers and secured with rubber bands.
Step 4: Beautify your diaper cake. I used pink ribbon to surround the outer layers of the diaper cake to hide the rubber bands securing it together and I decorated with 3 cute toys and topped it with teeny tiny baby booties. You can also top with a bottle, teddy bear, or anything you see fit. I also found little plastic baby booties (at the Dollar Store) in pink to decorate the layers.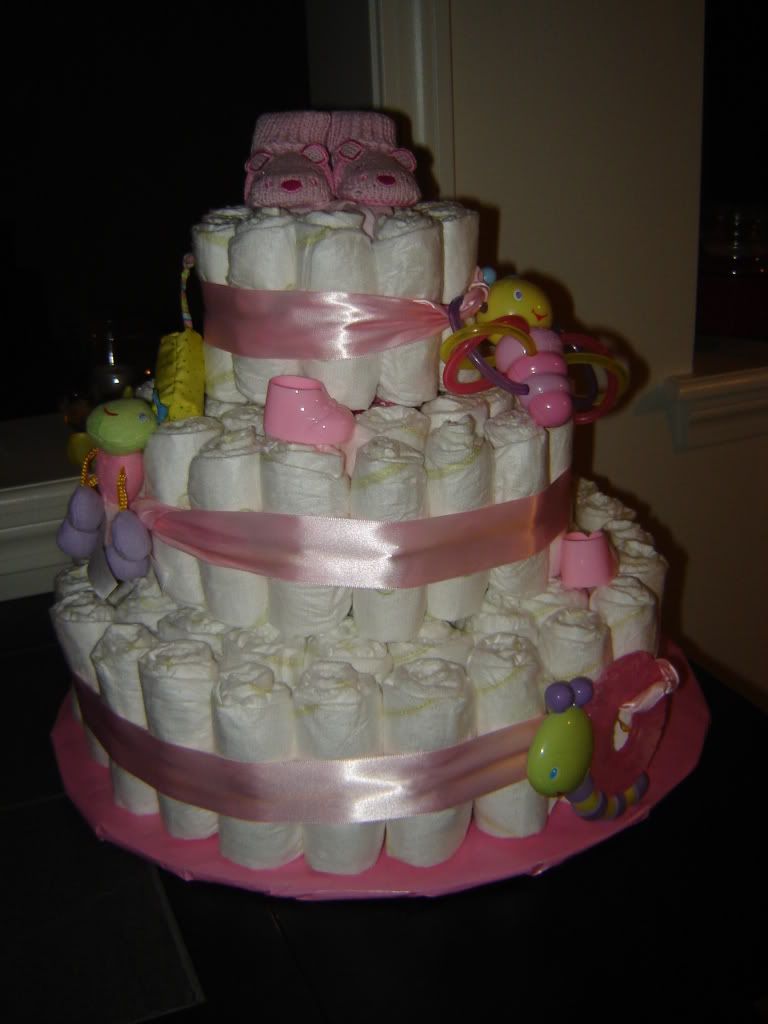
(Instructions obtained courtesy of a fellow CT Tribe member.)


0 comments:
Post a Comment