


Step 1: Making the Fondant
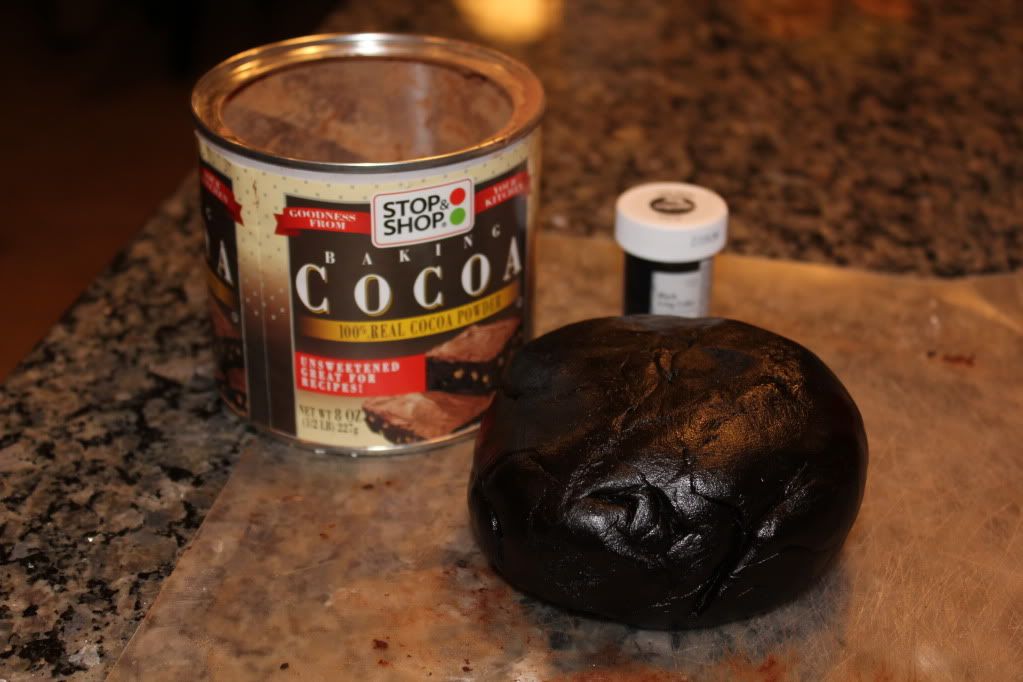
I made the fondant for the cake by hand on a Tuesday night (her party was on Saturday), but I could've even done it the week before and it would've kept fine in the fridge. I made one and a half batches of Rolled Marshmellow Fondant. I split the fondant in three separate bowls. The first bowl, I had about 1/4 of the fondant and I dyed it black. To get a true black, I altered the marshmellow fondant recipe above by adding half cocoa/half confectioner's sugar instead of all sugar and I used a black food dye gel. Be forewarned that the black dye will get in your finger nails and cuticles (even if well coated with Crisco!), so if that bothers you consider wearing gloves while working the cocoa and sugar into the fondant. My fingers had smudges of black for a day or two afterwards, but it wasn't too bad and definitely wasn't noticed by others. The recipe doesn't call for an exact amount of the dye to use, so I put about a 1/2 tsp (via toothpick) in with just the melted marshmellows prior to mixing the sugar and cocoa in. Then, as I kneaded the remaining sugar and cocoa to get the desired consistency, I added a smidgen more (using a toothpick) and kneaded it in some more.
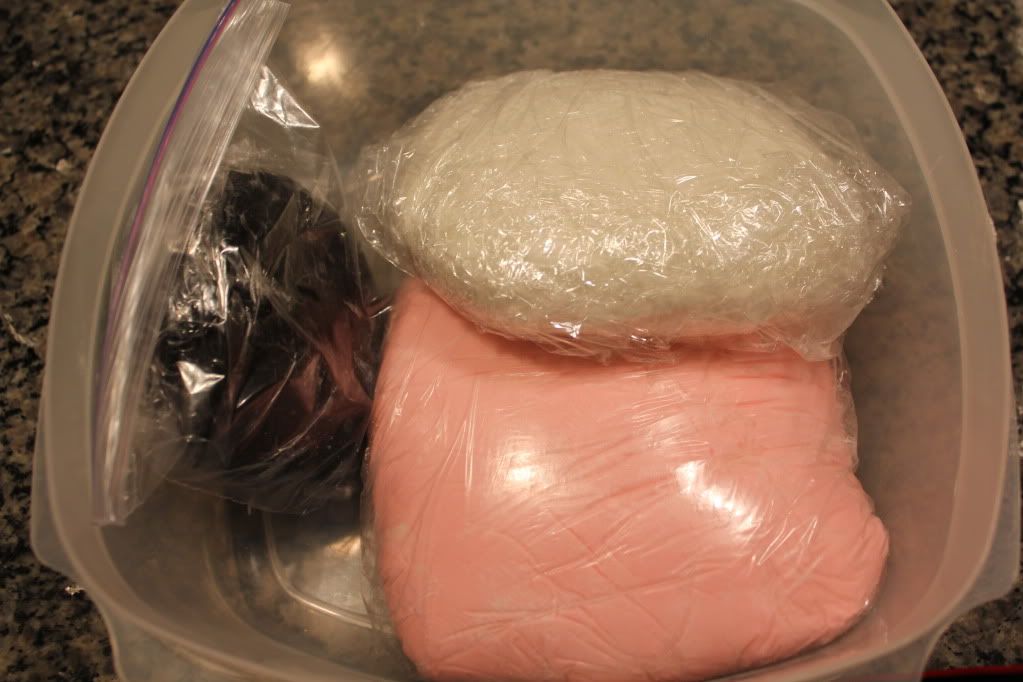
I then split the remaining melted marshmellow evenly and left one as is (white) and just added confectioners sugar until I got the desired consistency per the recipe and the second batch I dyed pink. I used red food gel (instead of the pastel pink gel you can buy) to get the pink I desired mixing it directly in the melted marshmellow first before adding in the confectioners sugar. Once you make the fondant once and see how easy and relatively quick it is, you'll never buy it again! It's also MUCH cheaper and tastes better than store bought fondant. Before storing the fondant in the fridge, I coated with Crisco and wrapped in plastic wrap.
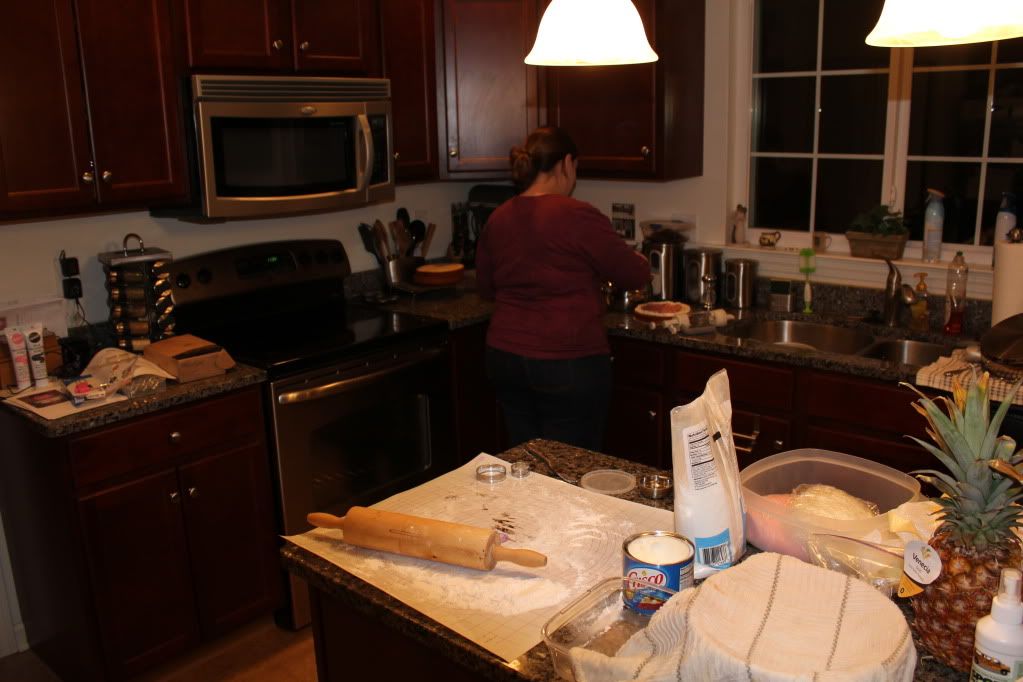
On Thursday evening, I made the fondant cut-outs for the cake. In the morning, I took the fondant out of the fridge to warm to room temperature (just the black and the pink) and I finally had a chance to work with it that evening. It was actually relatively quick to roll it out thin enough and use cookie cutters to cut with. I cut out black circles for Minnie's head and ears making sure that I had extra just in case they should be needed and I cut out 1" x 1/4" strips out of the pink for Minnie's bows for the bottom tier. I then rolled out the black fondant to be almost a 1/2" thick and used a tuna can (I kid you not!) to guage the size of the ears and make an indent in the fondant that I could cut around. Once the large ears were cut, I inserted two toothpicks into each ear about an inch at an angle leaving the rest of the toothpick exposed so that I could use them to place the ears on the top of the finished cake. I then stored all the cut-outs I made in tupperware containers on my counter until party day. Making and dying the fondant took an hour and making the cut-outs took a half hour.
Step 2: Making the cakes
I made the cakes for the two tiers from scratch using the Butter Cake recipe from Wilton with only one minor change- I omitted the almond extract and added an additional teaspoon of vanilla extract. Mixing the cake batter was quick and easy with my KitchenAid mixer, but I didn't plan well with the ingredients and ran out of butter. I ended up sending A.R. to the grocery store to pick up more as I was one batch of batter short. To make all the cakes that I did, I had to triple the recipe. I only anticipated having to double it. I baked the cakes in 6", 8", and 10" pans. The 6" cake was just for M to play with the other two cakes were for her formal cake. I had to increase the oven temp to 375 (convection oven) and it still took a good 30-40 minutes for each size cake to cook except for the smaller 6" cakes.
Step 3: Icing and Filling
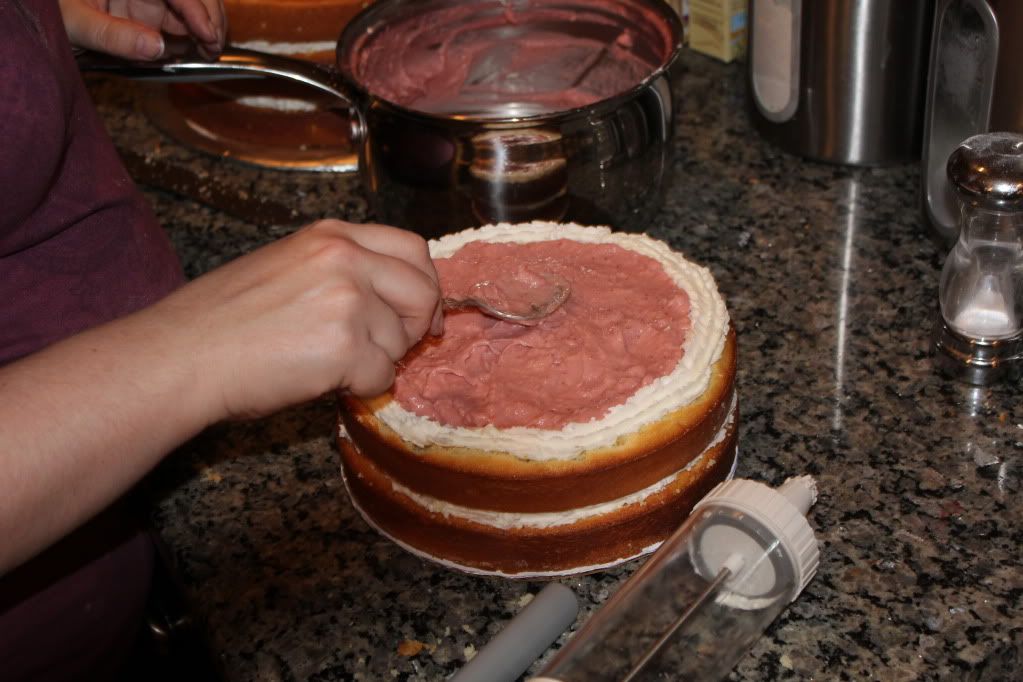
I made Strawberry Cream filling from Wilton's website only I didn't buy pre-sweetened strawberries (couldn't find them at my local grocer), so I sweetened the strawberry mixture myself with regular sugar as I simmered them. I also didn't trust that the strawberries wouldn't be too lumpy in the filling after they were simmered, so I pureed the whole mixture. Bakers should note, that the mixture will still look pretty runny after it's done cooking, but once you chill it in the fridge it WILL stiffen up. I added extra cornstarch as I was afraid that the filling was too runny, but I really didn't need it.
Next, I made buttercream icing from Wilton's website and it was yummy...a lot better than other buttecreams I've tasted in the past. I just flavored mine with a little vanilla extract. To start stacking the cakes, I first used a serrated knife to level them and then I piped buttercream frosting around the edges of the layers before adding in the filling. Then, I added the filling and stacked another cake layer on top. Each tier consisted of three layers of cake. For additional stability I inserted plastic straws into the bottom tier where the upper tier would sit and I also inserted a few straws in the upper tier as the layers were sliding a bit due to the filling.

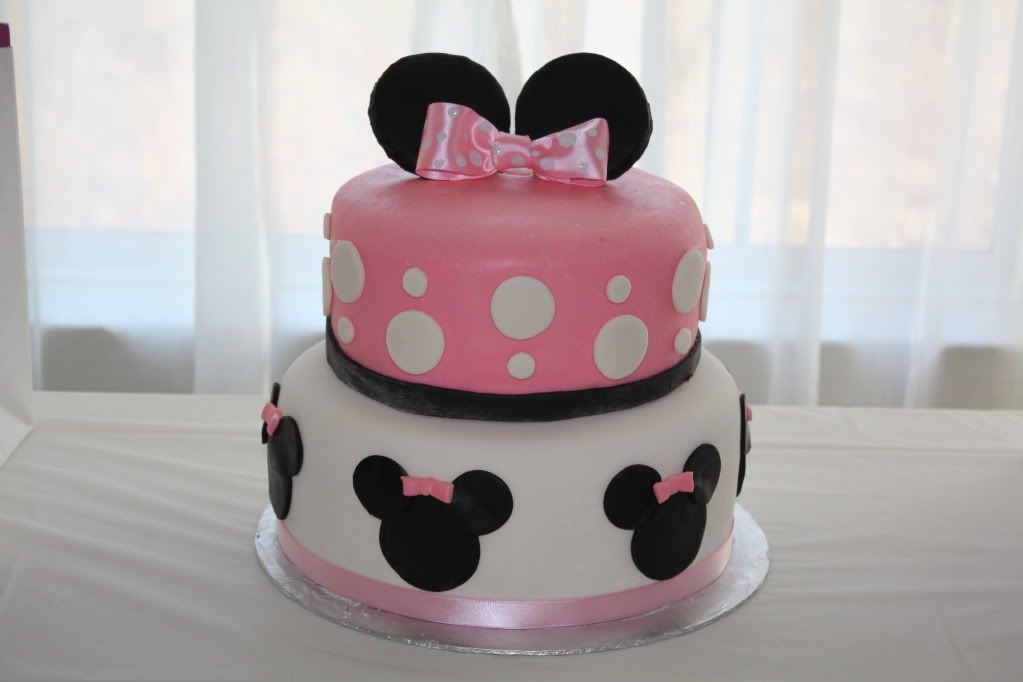
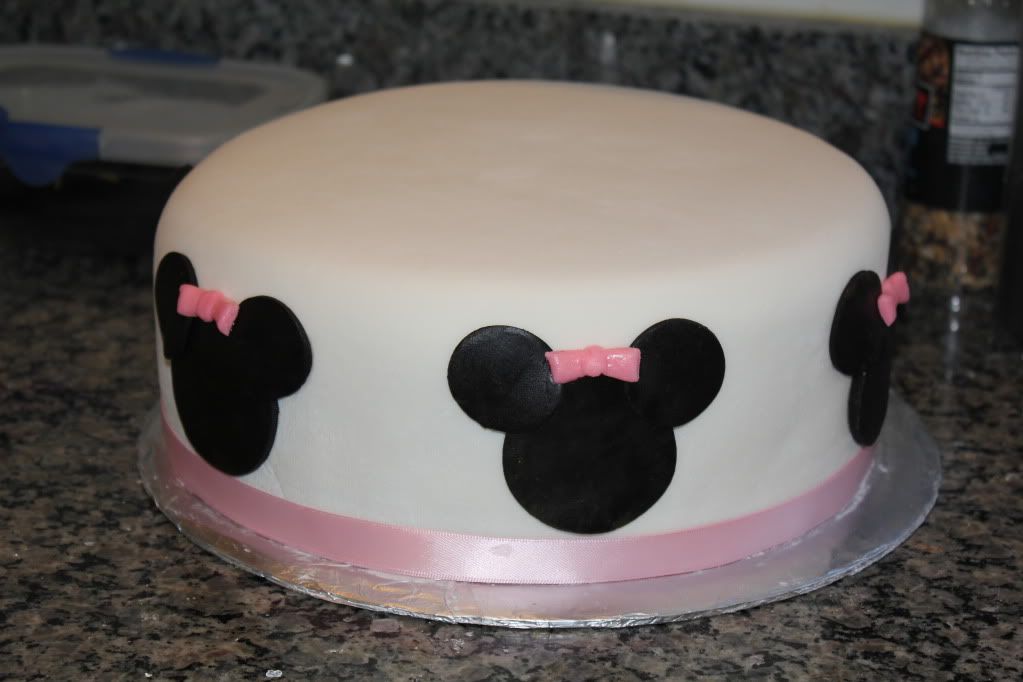
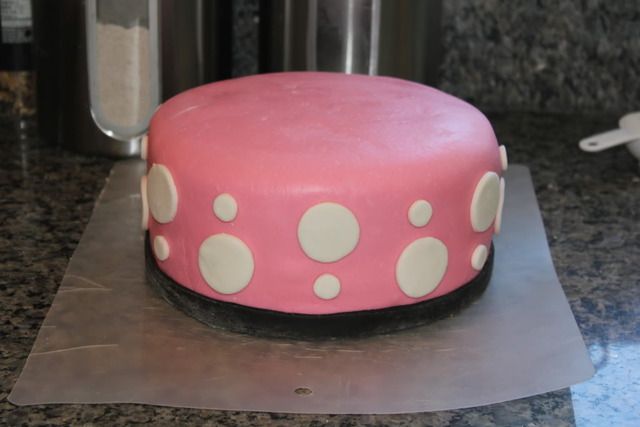
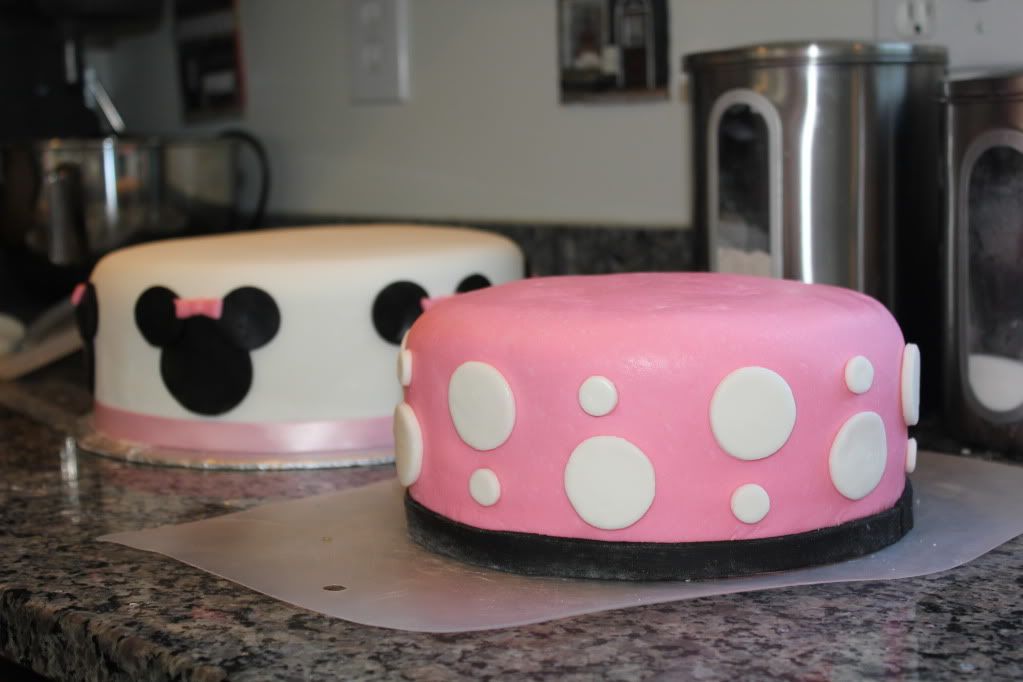
Once each cake was covered in fondant, I stored in the fridge uncovered until party day. I made the cakes and covered in fondant on Thursday as I wanted to do nothing but enjoy Miss M on her actual birthday (Friday). On Saturday morning when I woke up I took the cakes out of the fridge to warm to room temperature before I decorated them with the fondant cut-outs. To add the fondant cut-outs it was actually super quick and easy. I had a tiny bowl of water and just dipped my finger in the water and rubbed a little water on the back of the cut-outs before sticking to the cake. If you use too much water the cut-outs do slide down and if using a darker colored fondant (i.e. black) on a lighter background (i.e white) it will leave a mark if you remove it, so place them carefully the first time! The border on the bottom of the larger cake is actually a ribbon I bought and just wrapped around the cake three times. It held itself in place. The black border on the upper tier was fondant that I rolled and cut myself. The bow on the top of the cake was real ribbon that my little sister made.


4 comments:
SOOO cute! I am super impressed!
I'm trying to do something similar for my baby's first birthday but would like to know the cost.
The cost would depend on if you make the fondant from scratch or buy premade. If you make it yourself you'd need the dyes and actualy fondant ingredients. Also, I made my cakes and frostings from scratch. I already had a rolling pin and cake pans, so those costs didn't exist for me. I got a few additional tools like a fondant smoother, but they were $5 or less and I plan on making my kids' birthday cakes for years to come.
this is EXACTLY what I was looking for!!
I am going to attempt this for my daughters 1st birthday and I am really nervous...1st timer :)
You mentioned you used straws in the bottom tier to support the top. Were they paper straws (like for cake pops) or were they plastic drinking straws? (Hope I can find the non-bendy kind!!) How did you arrange them? I am imaging 4 in a square pattern toward the middle?
What did you use to make the circles on the middle tier and Minnie ears on the bottom tier?
This is super cute and I cant wait to try. Thanks in advance for your help!
Post a Comment