I am not only a girlfriend, woman, wife, and mommy, I am now a Personal Chef as well. Having tasted the nastiness that is jarred baby food during a baby shower game at A.R. and my co-ed baby shower what seems like eons ago, we were both on board to make all of M's baby food. (Yes, this post is long past due and I have since lost the photos I had taken to post with it sans a broken hard drive and M isn't even eating purees anymore, but I digress.) I especially wanted to aspire to make anything that involved meat for her myself as the jarred baby food with meat in it is just horrendous and I wanted her first meats to be organic, free-range, hormone free meats.
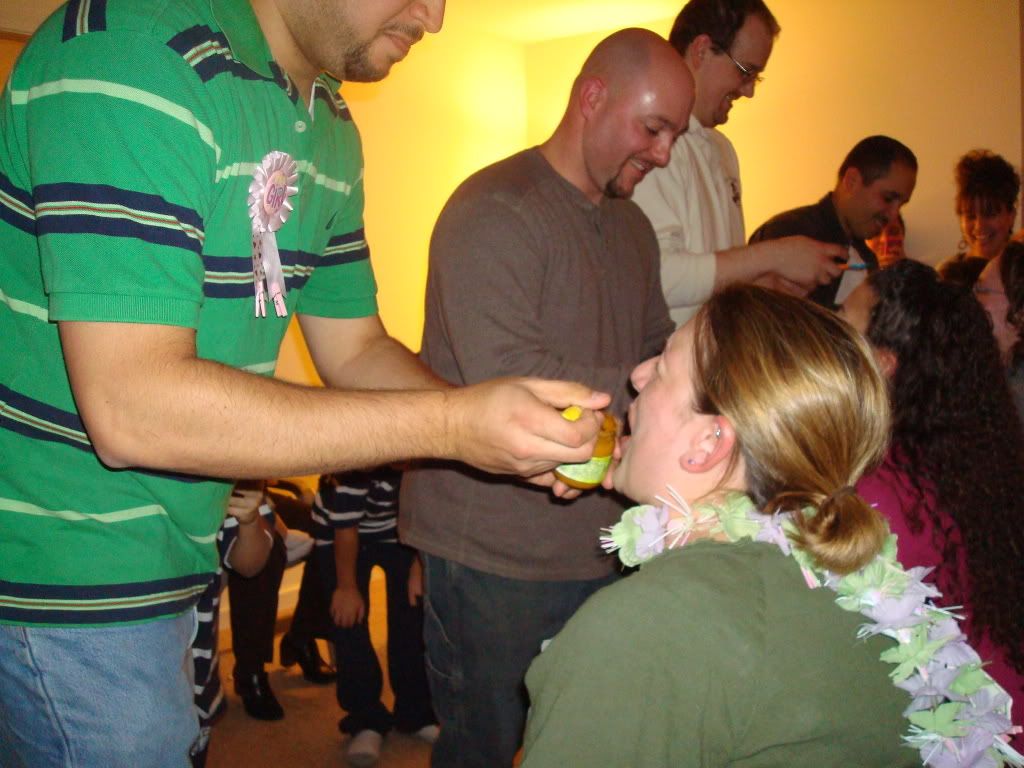 |
| Baby food babyshower game- See the closed eyes?! Grossness. |
Making baby food doesn't require any special tools or gadgets (aka a pricey Beaba) besides what you probably already have in your kitchen. All you need are some ice cube trays that have covers, a decent blender, and a way to steam or bake veggies and fruits (a steamer, oven, or microwave are sufficient). I happened to have a Cuisinart blender/food processor that we got as a wedding gift that I finally was able to put to use. I actually found that some of the veggies (the less water based ones like potatoes and pumpkin that I baked) pureed better in the blender rather than the food processor attachment. All of the watery fruits and veggies (apples, pears, peaches, squash, etc.) that I steamed were a sinch to puree in the food processor attachment (once I figured out how to assemble the darned thing). I used the website
http://www.wholesomebabyfood.com/ as one of my guides in addtion to this book my sister-in-law bought me for my first Mother's Day:

After pureeing the foods (meats, fruits, and veggies), I poured them into the ice cube trays, covered, and froze. You can even mix and match the purees before freezing to accomplish the same thing the baby food companies do with mixed purees- just be sure to try the foods solo first to make sure your little one doesn't have any allergies to either of them. Once they were frozen, I popped out the food cubes and stored them in gallon sized freezer bags labeled with the food name and date made. Kept frozen, these cubes last several months in the freezer. It was so easy to puree up a vegetable or fruit or both while I cooked our dinner at night. I'd steam or bake the foods I was preparing, allow them to cool while I played with M, and then either A.R. or I would puree and package while the other began M's nighttime bath and bed ritual. Yes, folks! A.R. even got involved and helped make a good portion of her food. I think having tasted the jarred food himself he wanted to be sure we never got lazy enough that M ended up having to eat it.
On of the main challenges I ran into was over the winter when a lot of the fruits I wanted to work into her diet weren't available in New England. When this happend, I did buy her organic baby food. Some of it was made by Gerber (I made sure the labels just listed fruit, water, and maybe some absorbic acid- Vitamin C) until I discovered the
Ella's Kitchen and
Plum brands that come in squeezable pouches. They are super easy when you're on the go because you don't even need a spoon! You can squeeze directly into your baby's mouth and a lot of the fruit purees even include some disguised veggies. One thing I did find was M NEVER would eat any puree that contained banana in it. Having tasted a few of them, I tend to agree with her taste buds. Pureed packaged banana just doesn't taste the same as the real thing. I had to be careful to not buy any purees that had banana in it (not an easy feat if you've ever perused the baby food aisles and noticed the options). I rarely buy pureed fruits anymore with Spring looming and M devouring table food now, but I keep a pouch of Ella's Kitchen food in her diaper bag at all times just in case we need a snack on the fly if I'm out longer than expected.
Another challenge we faced was the meats we pureed drying out from being frozen. Our trick to solving this issue was to just add a little water to the dish I used to reheat the meats in the microwave. Once we did that we had no issues and M would chow down. I found that the meats did best when boiled or baked as they tended to lose less juices that way and stayed tender. For red meat, we made mini meatballs for her and then grilled them until just brown and didn't cook through until reheated from the freezer. We never had problems with fruits and veggies being reheated in the microwave. Just be sure to stir well and check the temperature on your lips before feeding to baby in case there are any hot spots in the food.


0 comments:
Post a Comment